All levels
|
18 min 2 sec
|
00:39
|
|
03:19
|
|
02:26
|
|
05:21
|
|
06:17
|
Summer Fun
Sew a Reversible Sun Hat
Ashley Nickels
Learn how to make a reversible, floppy sun hat—the perfect addition to your summer wardrobe. Ashley Nickels will show you how to measure your head to determine your hat size and how to increase or decrease the length of the brim to make it totally customizable. Best of all, this sun hat can be made with your two favorite fabrics since it’s fully reversible. This class is great for new sewers and for anyone who needs a stylish hat to wear under the warm, summer sun.
Crocheted Summer Bag
Edie Eckman
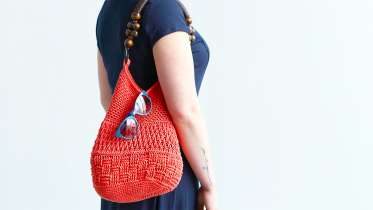
This quintessential summer bag is made using several crochet stitch patterns that come together to form a textural sampler. Whether you choose a cheerful summery color or a nautical neutral, this bag will become your go-to everyday tote. And best of all, the size of the bag can be made smaller or larger simply by choosing a lighter weight or bulkier weight yarn -- no pattern adjustments required.
Sew the Seabright Swimsuit
Chelsea from Friday Pattern Company
Sewing swimwear need not be daunting under the gentle guidance of Chelsea Gurnoe of Friday Pattern Company. In this class, she walks you through stitching the Seabright Swimmer, a swimsuit that features a dramatically plunging neckline and optional long sleeves for style and sun protection. She demonstrates additional techniques including adding foam cups and attaching laced D-rings for more coverage, making this suit particularly customizable. You'll work with swimwear fabric and quarter-inch elastics using any sewing machine to make a modern one-piece that is as empowering to make as it is to wear.
Crochet a Set of Mesh Market Bags
Twinkie Chan
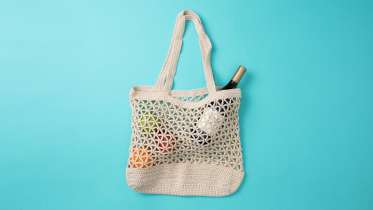
Easy to make and simple to toss into your car on the way to the grocery store, the park, or the beach, these reusable mesh bags are crochet projects you will undoubtedly use in your everyday life. Twinkie Chan, crochet designer and author, teaches you how to use a triangular or delta mesh stitch that allows your bag to be stretchy and light weight, and a solid panel of single crochet stitches and half double crochet stitches to make the bottom of the bag nice and strong. Make a smaller bag with a drawstring for organizing and separating your fruits and vegetables. Both bags are easy to wash and can be used around the house as stylish and earth-friendly storage options.
Sew the Endless Summer Tunic
A Verb for Keeping Warm
Learn how to sew A Verb for Keeping Warm’s most popular pattern: the Endless Summer Tunic. This flattering tunic will be a staple in your summer wardrobe and works just as well with layers in cooler seasons. The patternmaker, Tasa Gleason, walks you through the process of selecting fabric, determining your size, and working with pattern pieces to construct your garment. Learn professional finishing techniques and helpful tips along the way. Once you’ve made your first tunic, you’ll be scheming ways to make one for every month of the year.
Popover Sundress
Liesl Gibson
Sewing this darling dress gives you a chance to learn tips and techniques from Liesl, including French seams, bias binding and sewing a narrow hem. The dress works up quickly and is offered in a wide range of sizes, including small enough for a matching doll version. Download the pattern here
Canning the Best Blueberry Jam
Karen Solomon
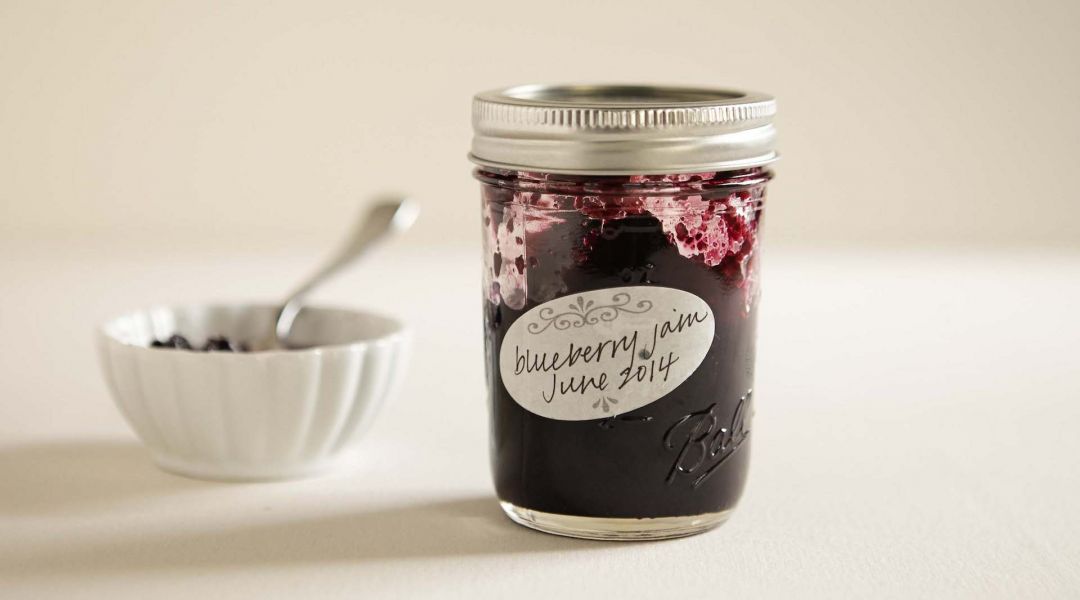
In this class, our resident jamming expert, Karen Solomon, shares a simple recipe for a classic favorite: blueberry jam. Karen demonstrates exactly how to make this stove-top recipe, and she also walks you through the basics for properly canning the jars, ensuring a long shelf-life. If you would like to veer away from the classic, Karen provides lots of ideas for add-in flavors, like fruity liqueurs, fresh herbs, citrus zest and extracts.
Sew a Sleeping Bag
Annabel Wrigley
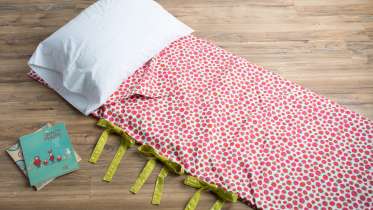
Learn how to turn a ready-made duvet cover into a snuggly sleeping bag, perfect for sleepovers. Instead of a zipper, Annabel Wrigley shows you how to customize with contrasting side ties, making for a surprisingly quick-to-stitch project.
Make a Nautical Rope Bracelet
Liana Allday
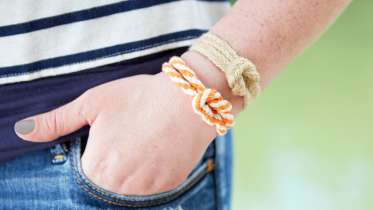
Before you take off on your next beach vacation, whip up a batch of easy nautical rope bracelets. These tie-on bracelets are the perfect last-minute accessory and can be made in a snap with just a bit of rope, ribbon, leather cord and hot glue. Have fun mixing and matching your ribbon and rope to make unique pieces for all of your friends.
Canning Basics: How to Can Tomatoes
Karen Solomon
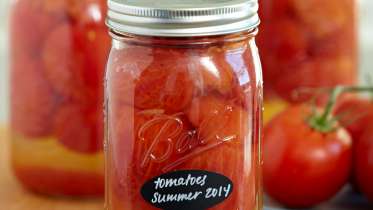
Learn how to preserve the taste of late-summer garden tomatoes with canning pro, Karen Solomon. Karen will teach you the basics of selecting and peeling perfectly ripe tomatoes, then show you how to safely can and process them so you can enjoy the taste of summer sunshine all year long. These whole canned tomatoes are perfect for soups, sauces, and everyday cooking throughout the year.
Crochet The Calvin Tank
Wool And The Gang
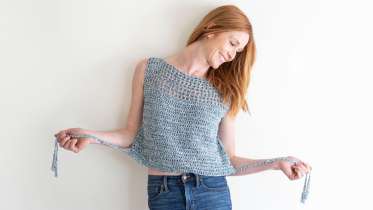
This easy, breezy top is deceptively simple to stitch. Featuring a simple double crochet paired with a mesh portion, it’s worked in two rectangles, then joined at the sides with crisscross tassel ties and seemed at the shoulders, creating a drapey boat-neck. The Wool And The Gang’s recycled Billy Jean yarn gives this top great body and drape, and the clear instructions and straightforward pattern are accessible to even the newest of beginners. This top comes together quickly and is sure to become a summer staple.
Painted Canvas Pillows
Courtney Cerruti
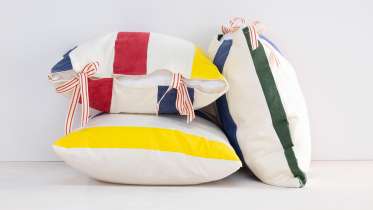
Give your living room a fun makeover with these hand-painted canvas pillowcases. Inspired by the classic, colorful stripes of Hudson Bay Blankets, you will use primary colors to paint stripes on your fabric. Then, follow along as Courtney demonstrates how to sew and assemble this simple pillowcase.
Sew the Adventure Tank Top
Fancy Tiger
This all-summer tank is super versatile and comes in two versions: a racer-back and a muscle tank. Amber and Jaime, the Fancy Tiger ladies, show you how to make both views using either a serger or sewing machine. The slightly flared silhouette and design details make this the perfect tank to wear on all your summer adventures. PDF patterns are provided for both versions in six sizes (from 32” – 46” bust).
DIY Felt Pennants
Courtney Cerruti
Add color and text to your walls with these easy-to-make felt pennant banners. Courtney teaches two ways to make vibrant pennants: by cutting out customized letters and gluing them in place, or with iron-on letters and a sewing machine. Perfect for parties and seasonal décor, these pennants can be made quickly for spontaneous celebrations.
Veggie Stamp Picnic Blanket
Christine Schmidt
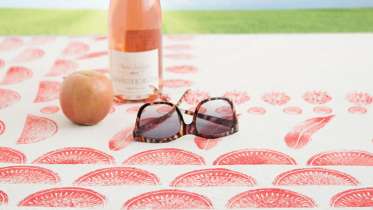
The secret to this hand-stamped picnic blanket is humble root vegetables that have been turned into stamps. In this workshop, Christine Schmidt talks about selecting vegetables, carving them, and applying them to turn a simple length of canvas into a cheerful picnic blanket. To learn how to create your own stamp pad, watch Christine's class DIY Stamp Pad on Creativebug.
Easy Indigo Dyeing: Make Indigo Dyed Pillows
Anna Joyce
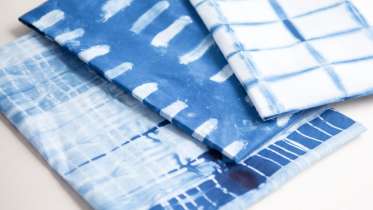
Learn how to make stunning, one-of-a-kind patterns on cotton fabric using indigo dye. Anna will show you a variety of folding, twisting, tying, and painting techniques to achieve eye-catching prints and patterns. Once your fabric has been dyed, Anna will show you how to sew your printed fabric into stylish envelope pillows. Although indigo dyeing can be done indoors, it’s a perfect way to spend time with friends outdoors on a warm, summer day.
Learn how to make stunning, one-of-a-kind patterns on cotton fabric using indigo dye. Anna will show you a variety of folding, twisting, tying, and painting techniques to achieve eye-catching prints and patterns. Once your fabric has been dyed, Anna will show you how to sew your printed fabric into stylish envelope pillows. Although indigo dyeing can be done indoors, it’s a perfect way to spend time with friends outdoors on a warm, summer day.
Learn how to:What you’ll get:
Here’s what you’ll need:
Jacquard Indigo Tie Dye Kit, 5-gallon bucket with a lid, Jacquard water-based resist, Palette, Cotton twine, Wooden dowel, White quilter’s cotton for one pillow:
- a 20” x 20” square for the front and two 20” x 14” rectangles for the back
- Rag
- Scissors
- Pins
- 20" x 20" square pillow insert
- Apron
- Sewing machine with thread to match your indigo
- Iron and ironing surface
- Dropcloth (for protecting floors and surfaces if working indoors)
- Sink or hose to fill your indigo vat
- Rack or clothesline to hang up your project to dry
Downloads:
- Learn how to use indigo dye on cotton fabric by making stunning, one-of-a-kind pattern on an envelope pillows
- 9 HD video lessons you can access online anytime, anywhere
- Detailed supplies list
- Step-by-step expert instruction from designer Anna Joyce
- The ability to leave comments, ask questions, and interact with other students


Member Gallery
Browse members' projects from this class and share your own work! Learn how to take great photos here.
Load More
Easy Indigo Dyeing: Make Indigo Dyed Pillows Reviews
337 users recommended this class to a friend
Suzanne Watson
I'm not ready to try.. I'm afraid I could do it wrong. This jam is dark. It may be hard to see the bubbles in it I think. Thank you though.
September 7, 2024
lorilyn wilkes
the instructor gave many good helpful hints for a beginner. Since she made such a small batch-someone might not find it overwhelming to try for the first time. When I do all that work-i make more than four jars.
I cringed when she tilted the jar sideways to get it out. This is a good way to get jam on the unsealed rim before it seals or break the seal before it cools. Is a dangerous practice to do that; Always keep your jars vertical when canning! Let the hot liquid evaporate off the top.
Also-we have a blueberry crop. The best way to clean the little stems is not to rinse in a colander-but to float the berries in a bowl of water. Or you just might be canning twigs and things you would prefer not too. If store purchased..this is not necessary, as has been done in a factory.
I like a little salt-but a spoonful seemed a bit much for only 4 small jars. She is correct to say to add the flavorings at the end..but did not explain why. Extracts, for example, will dissipate out if left to boil with the berries. This is true of flavoring puddings and the like.
I enjoyed the subject matter and the teacher seemed to really enjoy her craft. Is nice to make jam without having to use pectin-and will give a good set. But she did not mention that by cooking out the moisture instead of using pectin, the berries will loose some of their flavor.
I too use the freezer plate and/or freezer spoon. But i run a finger through the jam on the cold plate. If the trail does not fill back in-you know it is set. or tilt a cold spoon sideways and if it stays put-it's done.
The lemon helps preserve and helps it set up. She shared to use lemon but again, did not explain why.
Also-is better to label the lid tops which are tossed-then put gummy labels on the jars-which are hard to remove for reusing in your next batch.
This class might be a good catalyst to learn making and canning jam..but is always good to check with the national food canning sites
to confirm the safe canning methods.
Such as if the jars did not seal-should be refrigerated and eaten within a week or so-as does not have preservative in it-other than some fresh lemon juice. Think of it as fresh fruit then. It will not last several months safely like the teacher suggested in this video if not sealed.
More than 3 months ago
1


