
Volume 90%
Press shift question mark to access a list of keyboard shortcuts
Keyboard Shortcuts
Play/PauseSPACE
Increase Volume↑
Decrease Volume↓
Seek Forward→
Seek Backward←
Captions On/Offc
Fullscreen/Exit Fullscreenf
Mute/Unmutem
Seek %0-9
Next Up
Overview
Intermediate
|
16 min 9 sec
|
00:26
|
|
15:45
|

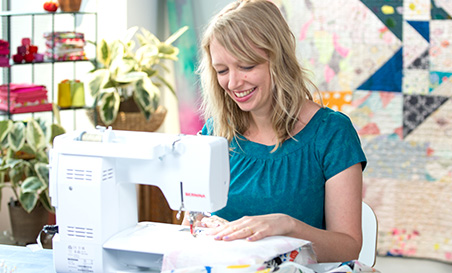
Taught by Carolyn Friedlander
Start Free Trial or
Buy For $9.95
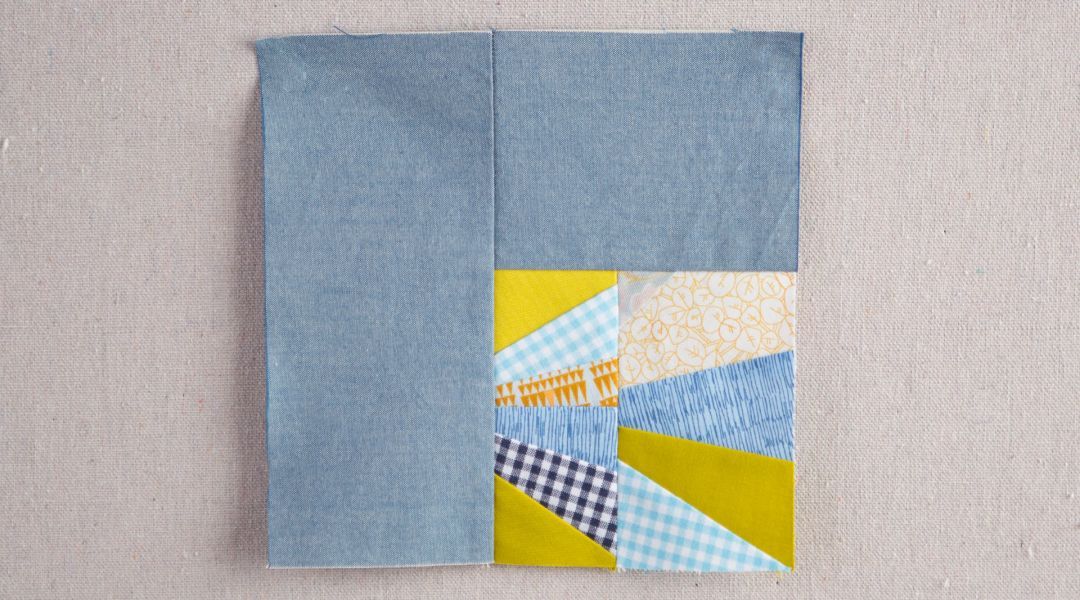
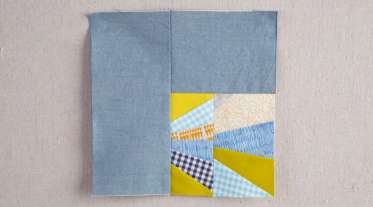
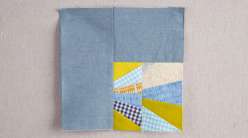
Embrace the flexibility and spontaneity of paper piecing with this scrappy block. Carolyn Friedlander shows you how to select a color palette from your leftover bits of fabric and create a precise design using a template. Paper piecing with scraps enables you to use every last bit of fabric, so don't toss your scraps—save them for a project like this one.
The Polk Block is 7" x 7"
Materials:
Learn how to:
Here’s what you’ll need:
Finished Measurements:The Polk Block is 7" x 7"
Materials:
- Sewing machine
- Table extension for sewing machine (optional)
- Sewing machine foot with good visibility of sewing area
- Matching cotton thread (50wt)
- Cutting mat
- Rotary cutter
- Sharp snips
- Iron/ironing surface
- Marking utensil (optional)
- Scraps of desired fabrics (some scraps should be 3 ½” wide for larger portions of block)
- Quilting pins
- PDF Template
Downloads:
- Select scraps for your project
- Audition scraps on the template for fit and look
- Paper piece your block
- Learn how to utilize leftover bits of fabric by creating a Polk block of your own design
- Detailed supplies list and downloadable PDF templates
- Step-by-step expert instruction from Carolyn Friedlander
- The ability to leave comments, ask questions, and interact with other students
Member Gallery
Browse members' projects from this class and share your own work! Learn how to take great photos here.
Load More
Polk Block: Paper-Piecing with Scraps Reviews
680 users recommended this class to a friend

Tamara Anderson
Very clear and understandable. I've been encouraged by friends to try paper piecing, but found verbal descriptions confusing. Watching the process makes it very clear and I feel like I can now give paper piecing a try. Thanks.
More than 3 months ago
Carolyn Choudhary
Very clear demo of paper piecing
More than 3 months ago
Lynn C
Very informative.
More than 3 months ago
Related Classes