Volume 90%
Press shift question mark to access a list of keyboard shortcuts
Keyboard Shortcuts
Play/PauseSPACE
Increase Volume↑
Decrease Volume↓
Seek Forward→
Seek Backward←
Captions On/Offc
Fullscreen/Exit Fullscreenf
Mute/Unmutem
Seek %0-9
Next Up
Overview
All levels
|
45 min 9 sec
|
01:16
|
|
01:50
|
|
17:01
|
|
25:02
|
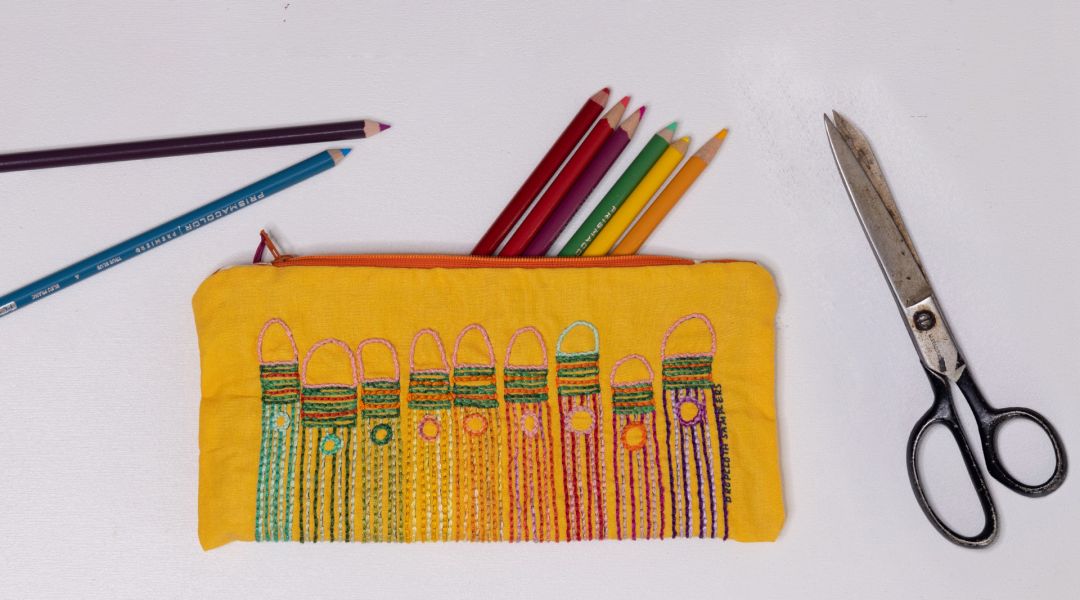
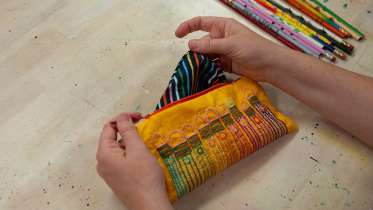
It's a colored pencil case for your colored pencils! Of course, you can fill it with whatever you like - pens, sewing tools, sunglasses - any way you use it, it's a wonderful project to showcase your time well-spent embroidering. Portland, Oregon artist Rebecca Ringquist has designed this Dropcloth Sampler for you to embroider by hand with this cute and stylish storage solution in mind. To embroider the pencil pattern, she show stitches such as filled back stitch and brick stitch, and once completed, she shows you how to turn it into a lined, flat zippered case that's just the perfect size to throw in a bag and join you on all your adventures.
Learn how to:
Here’s what you’ll need:
- 'Pencils' project can be purchased from Dropcloth Samplers
- Perle Cotton in size 8 or comparable embroidery floss
- Embroidery needles - Rebecca uses milliner needles in size 3 and 4
- Lining fabric such as cotton, linen, or other woven or non-stretchy fabric
- Fusible web, such as ShapeFlex to reinforce
- Embroidery hoop, 4 or 6-inches
- Rubber fingers or thimbles
- Scissors / snips
- Rotary cutter, mat, and ruler
- Pincushion or needlebook - check out Rebecca's Keepsake Needle Case class
- Sewing machine with zipper foot
- Iron and ironing surface
- 10" zipper
- Cording for zipper pull
- Adhesive double face sewing tape, or pins
- Beeswax for threading needles (optional)
Downloads:
- Sew the back stitch, filled back stitch, brick stitch
- Turn a sampler into a pencil case without measuring
- Extend the length of a zipper
- Use adhesive double face sewing tape


Member Gallery
Browse members' projects from this class and share your own work! Learn how to take great photos here.
Load More
Embroidered Pencil Case Reviews
81 users recommended this class to a friend
Laurie Fisher
This is a great class that combines all kinds of sewing skills to make a really cute and fun pencil pouch! Rebecca's instructions are very easy to follow and thorough.
February 18, 2025
m...@frontier.com
Great beginner class. Key take away from this class was lengthening the zipper.
More than 3 months ago


