Log Cabin Quilting: Modern Cross Block and Table Runner Set
Volume 90%
Press shift question mark to access a list of keyboard shortcuts
Keyboard Shortcuts
Play/PauseSPACE
Increase Volume↑
Decrease Volume↓
Seek Forward→
Seek Backward←
Captions On/Offc
Fullscreen/Exit Fullscreenf
Mute/Unmutem
Seek %0-9
Intermediate
|
55 min 8 sec
|
01:35
|
|
53:33
|
Modern Log Cabin Quilting
Part 1:
Log Cabin Quilting: Block-making Basics and Sewing a Pillow
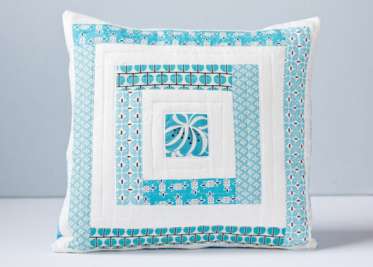
Welcome to log cabin quilting! In this first part, we'll focus on the classic, simple, and very modern square-within-a-square block setting. Susan will walk you through the basics of choosing fabric, cutting strips, and pressing and piecing your 'logs.' Once you've learned how to make a complete block in this simple style, she'll show you how to turn it into a beautiful quilted pillow.
What you will learn:
– How to cut center squares and strips
– Simple log cabin piecing
– Basting and geometric quilting techniques
– How to make custom binding tape
– How to make a pillow with an envelope back
What you will learn:
– How to cut center squares and strips
– Simple log cabin piecing
– Basting and geometric quilting techniques
– How to make custom binding tape
– How to make a pillow with an envelope back
Part 2:
Log Cabin Quilting: Block-setting Basics and Sewing a Baby Quilt
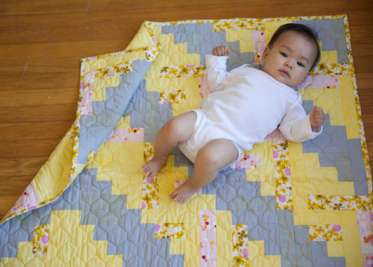
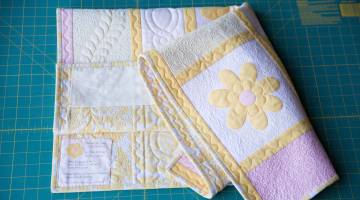
Now that you've learned the basic skills for constructing a log cabin block, it's time to talk about block settings. In this section, Susan will demonstrate some of the most popular historical block settings, like Barn Raising, Straight Furrows, and Sunshine and Shadow. She then shows you how to lay out and piece together a stunning asymmetrical baby quilt.
What you will learn:
– How to cut and assemble log cabin blocks
– Chain-piecing
– Log cabin block layout options
– Using a design wall to arrange and rearrange blocks
– Assembling a quilt top
What you will learn:
– How to cut and assemble log cabin blocks
– Chain-piecing
– Log cabin block layout options
– Using a design wall to arrange and rearrange blocks
– Assembling a quilt top
Part 3:
Log Cabin Quilting: Modern Cross Block and Table Runner Set
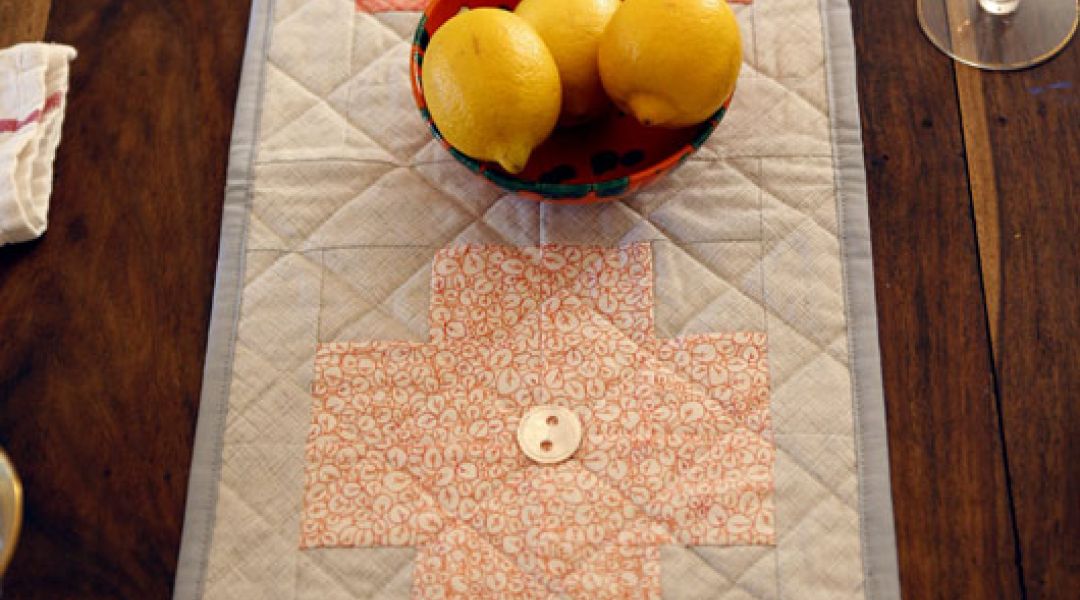
In Part 3, let's mix things up with a minimal and stylish modern cross block. The striking cross motif is a fun way to play with scale and color, and in this class, Susan demonstrates how to use colorful jelly roll or roll up precuts to make a matching table runner and trivet.
Part 4:
Log Cabin Quilting: Improvised Wonky Blocks and Sewing a Tote Bag
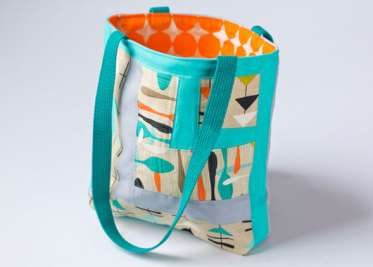
Once you know the rules of log cabin quilting, you can break them! In this final episode, Susan shows you fun ways to improvise log cabin techniques to make "wonky" blocks. She then ends the course with an eye-catching tote bag featuring colorful, improvised quarter log cabin blocks.
What will you learn:
– Wonky log cabin block piecing
– Topstitching
– Box corners and simple tote bag construction
– Lining a tote bag
What will you learn:
– Wonky log cabin block piecing
– Topstitching
– Box corners and simple tote bag construction
– Lining a tote bag
Here’s what you’ll need:
Materials:- 1/2 yard solid fabric (Susan uses Michael Miller Cotton Couture in Fog and Luna)
- 1 1/4 yards assorted prints for patchwork and lining for A / B & C (Susan uses three Michael Miller mid-century-inspired prints from the Jug or Not collection)
- 1/2 yard light to mid-weight canvas
- 1 1/2 yards 1'' cotton webbing for straps
- Fabric marker
- chalk or tape
- Basic Sewing Supplies (see Part 1)
Downloads:

Member Gallery
Browse members' projects from this class and share your own work! Learn how to take great photos here.
Load More
Log Cabin Quilting: Improvised Wonky Blocks and Sewing a Tote Bag Reviews
0 users recommended this class to a friend


