Volume 90%
Press shift question mark to access a list of keyboard shortcuts
Keyboard Shortcuts
Play/PauseSPACE
Increase Volume↑
Decrease Volume↓
Seek Forward→
Seek Backward←
Captions On/Offc
Fullscreen/Exit Fullscreenf
Mute/Unmutem
Seek %0-9
All levels
|
7 min 42 sec
|
00:46
|
|
00:23
|
|
02:47
|
|
03:46
|
Gift Wrap and Packaging Ideas
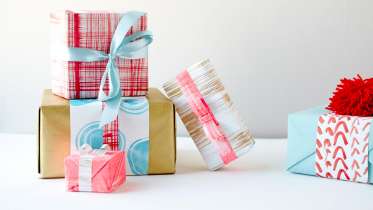
DIY Painted Gift Wrap
Courtney Cerruti
In one afternoon, you can create enough painted paper to wrap gifts for any occasion. Courtney Cerruti teaches several quick and easy dry-brush techniques, from sophisticated crosshatch designs to loose geometric squiggles – no prior painting experience required. At the very end, Courtney shares unique ideas for mixing and matching papers to wrap any gift.
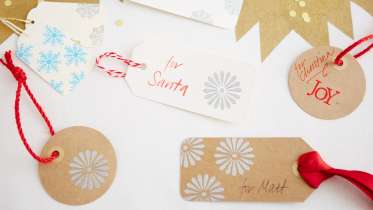
Stamped and Embossed Christmas Gift Tags
Courtney Cerruti
The wrapping of a present should be as special as the gift inside. Courtney Cerruti shows how to create custom paper gift tags using rubber stamps, ink and embossing powder – perfect for topping off your gifts. This quick embossing technique is ideal for working in large batches. (Maybe you’ll even have some tags for next year, too!)
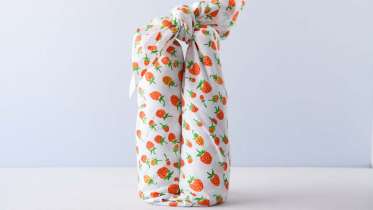
Furoshiki Wine Wrap
Megumi Inouye
Spend less than five minutes learning Furoshiki, the traditional Japanese art of wrapping objects with cloth. In this workshop, Megumi shows you how to quickly and elegantly bundle two bottles of wine to bring to a picnic or give as a gift. Once you know the principles of Furoshiki, you’ll be looking for more things to wrap.
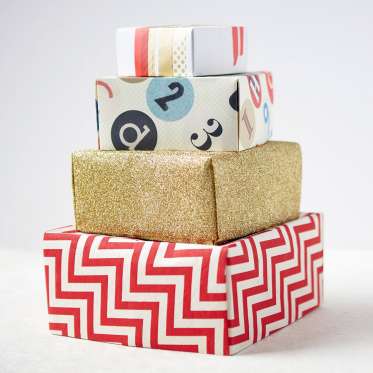
How to Fold a Paper Box
Liana Allday
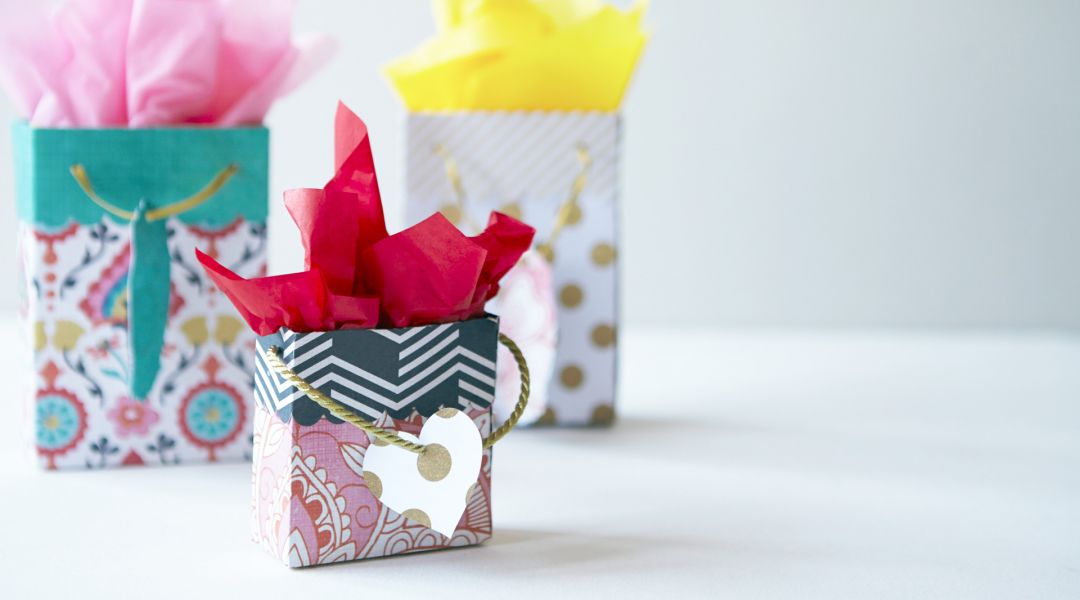
Create custom-sized boxes using decorative paper with Liana from Creativebug. These pretty paper boxes have their roots in origami, coming together with a series of simple folds. You'll learn how to make box tops with matching bottoms, which make cute gift containers for any occasion.
Cricut Crafts: DIY Gift Bags
Lia Griffith
In this class, Lia shows how to make customized gift bags and gift tags using a Cricut Explore. The Cricut will cut out and score the printed cardstock, making assembly quick and easy. Lia will show you how to add ribbon handles, giving your gift bags a clean, professional finish. These gift bags can be cut out and stored flat for later use or assembled on the spot.
Gift Wrapping Techniques
Lia Griffith
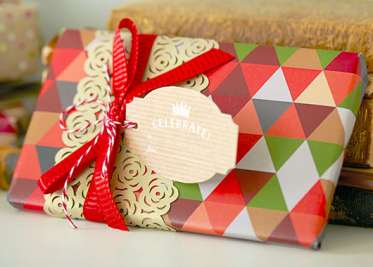
Learn how to wrap gifts like a pro with Lia Griffith. Not only does she show you how to perfectly finish the corners on wrapped gifts, but she also shares tips and tricks for attaching pretty gift toppers, belly bands and tags. As an added bonus, you'll even learn how to tie a perfect bow!
Cricut Crafts: DIY Gift Card Holder and Envelope
Lia Griffith
Learn how to make custom gift card holders and envelopes using a Cricut Explore cutting machine. The Cricut will cut out and score your printed cardstock and write a professional handwritten greeting with the Cricut Antiquity pen. Lia Griffith shows you how to assemble your gift card holder and envelope and finish it off with a chic ribbon closure. This is the perfect way to add a personal touch to an otherwise impersonal gift card.
How to Make an Envelope
Courtney Cerruti
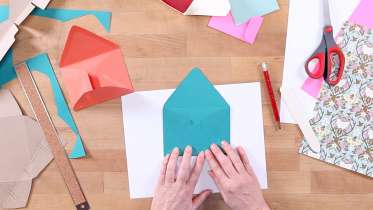
Learn how to make customized paper envelopes with Courtney. You'll begin by making a cardstock template so you can create multiple envelopes in various sizes. Courtney explains which types of papers work best for envelopes and shares how to make a decorative liner. With a few folds and a couple swipes of glue stick, you'll have a perfect envelope for birthdays, thank you cards, and holidays.
How to Make Watercolor Cards
Courtney Cerruti
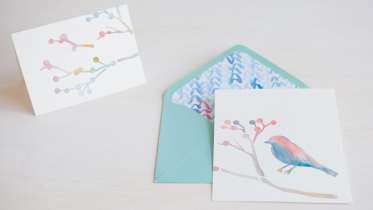
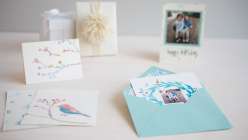
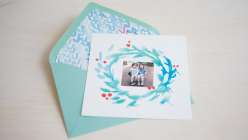
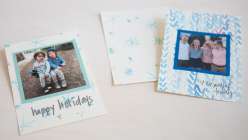
Learn how to make simple watercolor cards that you’ll enjoy making just as much as your friends and family will enjoy receiving. Courtney Cerruti demonstrates how to create elegant motifs using watercolor and simple brushstrokes or how to use a stencil to apply watercolor if you feel intimidated by the medium. Learn how to personalize your cards with a family photo and make photocopies to create an entire set of handmade cards. Finally, add that same personal touch to your envelopes by making an envelope liner using the same photocopied watercolor technique.
Learn how to make simple watercolor cards that you’ll enjoy making just as much as your friends and family will enjoy receiving. Courtney Cerruti demonstrates how to create elegant motifs using watercolor and simple brushstrokes or how to use a stencil to apply watercolor if you feel intimidated by the medium. Learn how to personalize your cards with a family photo and make photocopies to create an entire set of handmade cards. Finally, add that same personal touch to your envelopes by making an envelope liner using the same photocopied watercolor technique.
Learn how to:
Here’s what you’ll need:
- 8 ½” x 11” sheets of watercolor paper
- 8 ½” x 11” sheets of cardstock or pre-made blank cards
- 8 ½” x 11” sheets of decorative paper (if mounting photos or using for envelope liner)
- 8 ½” x 11” sheets of photocopy paper (if using photos or making an envelope liner)
- Envelopes
- Photos (optional)
- Double-sided tape
- Scissors
- Glue stick
- Pencil
- Ruler
- Stencil (Courtney uses a Mylar stencil featuring a bird motif)
- Repositionable spray mount adhesive
- Watercolor paints in a variety of colors
- Watercolor paintbrushes
- Jar of water
- Paper towels
- Photocopier
Downloads:
- Cut and prepare cardstock in a variety of traditional card sizes
- Hand paint motifs using watercolor
- Paint motifs using a stencil with watercolor
- Incorporate a family photo on your painted motifs
- Photocopy and scale your work to create a set of watercolor cards
- Add a festive watercolor lining to the inside of a mailing envelope
- Learn how to use watercolors to create an entire set of handmade cards
- 4 HD video lessons you can access online anytime, anywhere
- Detailed supplies list
- Step-by-step expert instruction from Courtney Cerruti
- The ability to leave comments, ask questions, and interact with other students

Member Gallery
Browse members' projects from this class and share your own work! Learn how to take great photos here.
Load More
How to Make Watercolor Cards Reviews
834 users recommended this class to a friend


