Volume 90%
Press shift question mark to access a list of keyboard shortcuts
Keyboard Shortcuts
Play/PauseSPACE
Increase Volume↑
Decrease Volume↓
Seek Forward→
Seek Backward←
Captions On/Offc
Fullscreen/Exit Fullscreenf
Mute/Unmutem
Seek %0-9
Next Up
Overview
All levels
|
6 min 26 sec
|
00:34
|
|
00:31
|
|
03:12
|
|
02:09
|
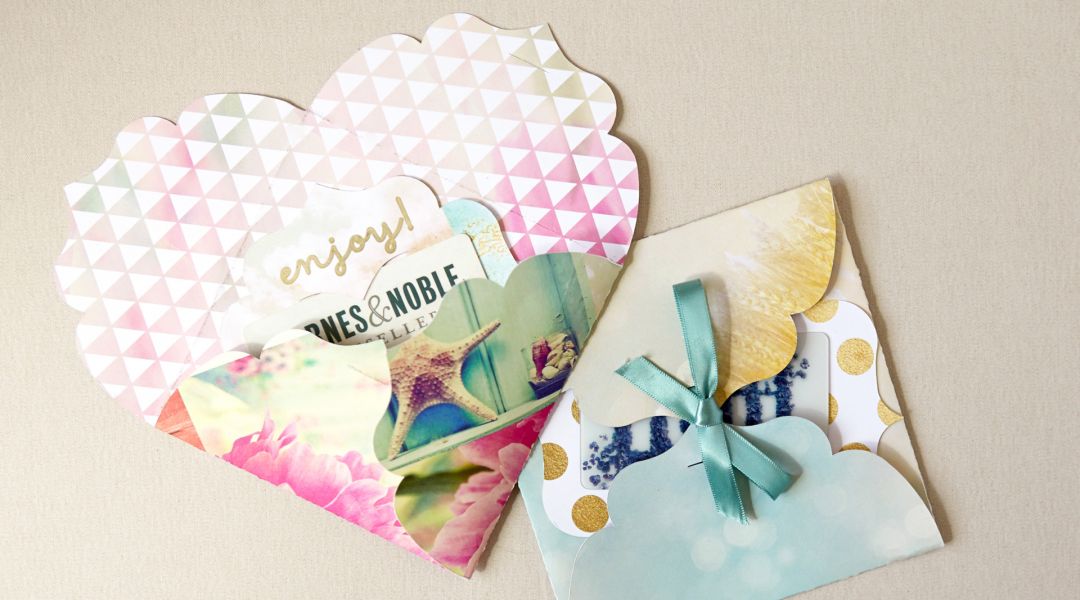
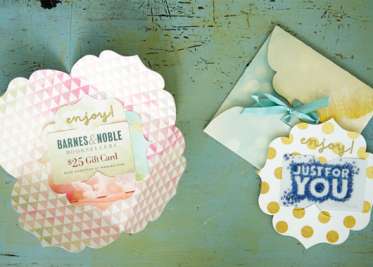
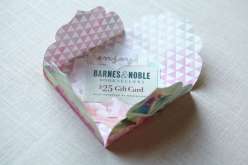
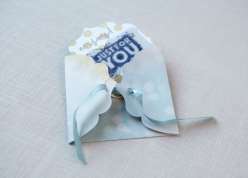
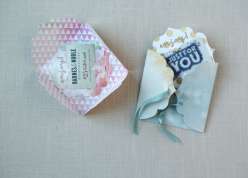
Learn how to make custom gift card holders and envelopes using a Cricut Explore cutting machine. The Cricut will cut out and score your printed cardstock and write a professional handwritten greeting with the Cricut Antiquity pen. Lia Griffith shows you how to assemble your gift card holder and envelope and finish it off with a chic ribbon closure. This is the perfect way to add a personal touch to an otherwise impersonal gift card.
Learn how to:
What you’ll get:
Here’s what you’ll need:
- Cricut Explore cutting machine
- Cricut light-grip mat (blue)
- Cricut Scoring Tool
- Gold metallic Cricut Antiquity pen
- Cricut spatula (optional)
- Computer
- Two sheets of two-sided 12”x12” cardstock
- Ribbon
- Scissors
Downloads:
- Cut and score your gift card holder and envelope using a Cricut Explore
- Write on your gift card holder and envelope using the Cricut Antiquity pen tool
- Assemble our gift card holder and envelope
- Finish your gift card envelope with a ribbon closure
What you’ll get:
- A detailed class by well-known designer Lia Griffith on making your own card holder and envelope using a Cricut Explore
- 3 HD video lessons you can access online anytime, anywhere
- Step-by-step instruction and a detailed supply list
- The ability to leave comments, ask questions and interact with other students


Member Gallery
Browse members' projects from this class and share your own work! Learn how to take great photos here.
Load More
Cricut Crafts: DIY Gift Card Holder and Envelope Reviews
576 users recommended this class to a friend
Lori Feldman
I'm new to Cricut and enjoyed this tute. But would've liked to have learned how to do the design in Design Space too.
More than 3 months ago
1


