Volume 90%
Press shift question mark to access a list of keyboard shortcuts
Keyboard Shortcuts
Play/PauseSPACE
Increase Volume↑
Decrease Volume↓
Seek Forward→
Seek Backward←
Captions On/Offc
Fullscreen/Exit Fullscreenf
Mute/Unmutem
Seek %0-9
Next Up
Overview
Intermediate
|
3 hours 6 min
|
00:59
|
|
03:23
|
|
08:40
|
|
10:31
|
|
08:52
|
|
20:27
|
|
05:20
|
|
04:47
|
|
06:08
|
|
07:27
|
|
08:34
|
|
05:44
|
|
03:47
|
|
04:17
|
|
03:04
|
|
02:14
|
|
04:19
|
|
07:44
|
|
08:25
|
|
03:29
|
|
03:42
|
|
01:50
|
|
11:14
|
|
02:46
|
|
03:50
|
|
03:23
|
|
01:16
|
|
02:12
|
|
03:55
|
|
06:48
|
|
09:18
|
|
03:46
|
|
04:30
|
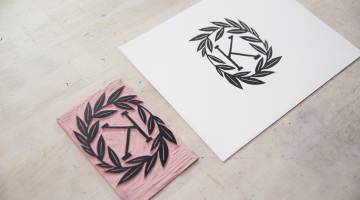
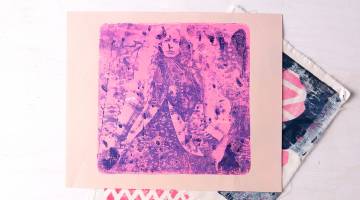
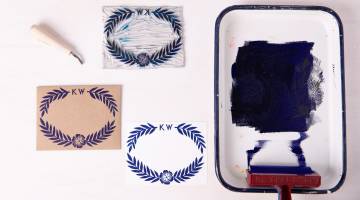
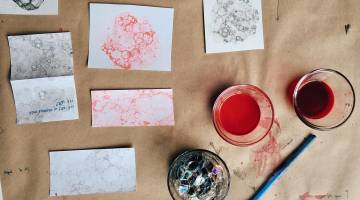
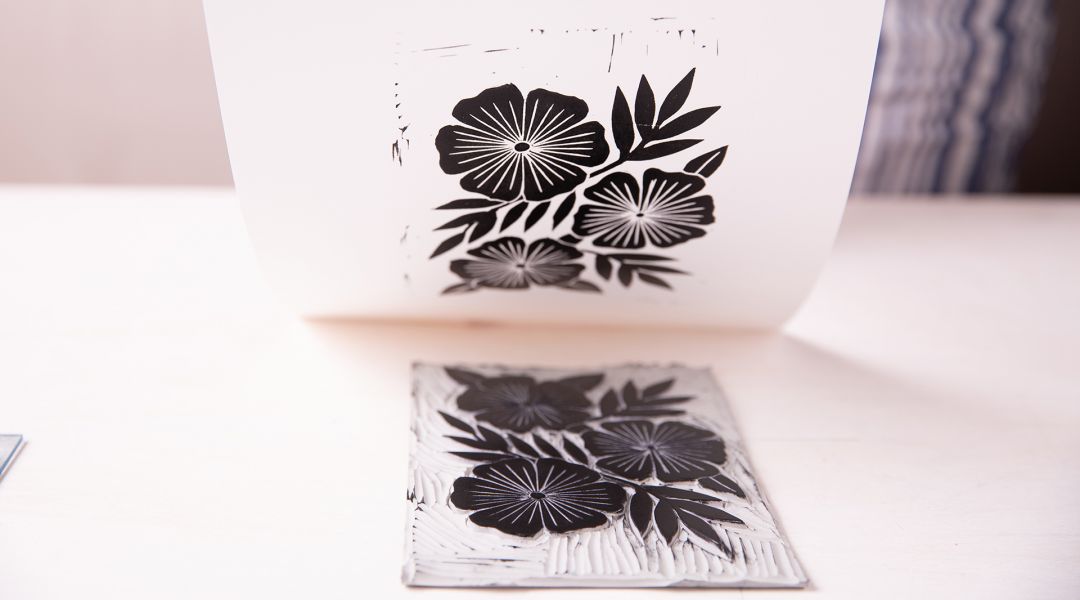
If you’ve ever considered printmaking but were daunted by the wide array of materials available, this thorough primer is essential viewing. In this Daily Challenge, artist and printmaker Katharine Watson introduces the basic tools and techniques needed to create prints at home. Beginning with the basics of safety and mark-making, you’ll learn the full process of designing, transferring, carving, and printing an image. Once you’ve mastered the basics, learn how to make repeat prints on a single page and how to print on fabric. Katharine encourages play and experimentation while giving you her time-tested methods, and demonstrates how easy it can be to develop a fine art practice even with a simple home setup.
Learn how to:
What you'll get:
Here’s what you’ll need:
- Linoleum: Katharine prefers Soft-Kut but you'll be testing the following: 4x6” of Golden-Cut, 4x6” and 5x7” of Wonder-Cut, three 4x6” pieces of Mounted Battleship Grey, one 4x6”, five 5”x7”, one 9x12” piece Soft-Kut
- Paper cut to 8.5 x 11” and 11 x 14” – Katharine uses text weight French Paper and Canson Edition Printmaking Paper
- Speedball carving tool set with #1, 2, 3 and 5 blades
- Pfeil Set C carving tools (optional)
- Black Caligo Safe Wash ink
- White Caligo Safe Wash ink
- Blue Jacquard Screen Printing ink
- Brayer
- Palette, plexiglass or glass sheet with taped edges
- Dish soap
- Rags
- Razor blade scraper
- Baren or metal spoon
- Tracing paper
- Pencil sharpener
- Linen or cotton fabric
- Ruler
- Painter’s tape
- Scissors
- Sharpie
- Pencil
- Ballpoint pen
- White Uni-ball Signo
- Sharpie Magnum (optional)
- Scrap paper
- Class PDF for transfer images
- Click here for the font used
Downloads:
- Transfer images onto linoleum for carving
- Set up registration for block printing
- Carve on four different types of linoleum
- Carve positive and negative images
- Print on dark and light papers
- Print on fabric
- Create a repeat print
- Work with oil-based inks that clean up with water
- Produce your own edition of fine art prints
What you'll get:
- A 31-day series of easy-to-follow video lessons on how to carve and print with linoleum blocks
- 32 HD video lessons you can access online anytime, anywhere
- Detailed supply list
- Step-by-step instruction by artist Katharine Watson
- The ability to leave comments, ask questions, and interact with other students


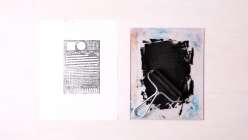
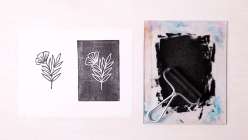
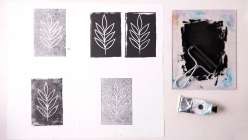
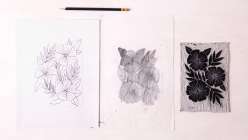
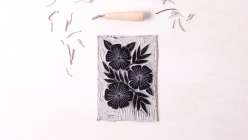
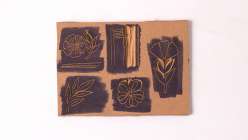
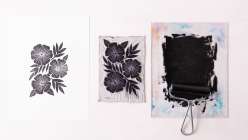
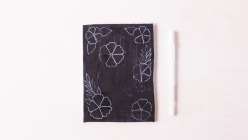
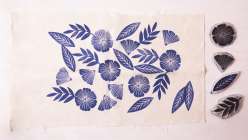
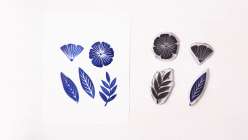
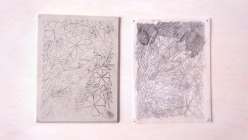
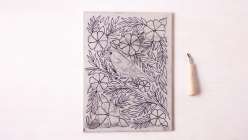
Member Gallery
Browse members' projects from this class and share your own work! Learn how to take great photos here.
Load More
From Block to Print: A Printmaking Daily Challenge Reviews
358 users recommended this class to a friend
Helen Cook
Loved this class, Katherine is a great teacher . lots of very helpful information. Perfect for beginners or someone that has limited knowledge in block printing
More than 3 months ago


