
All levels
|
57 min 30 sec
|
01:07
|
|
20:06
|
|
10:49
|
|
22:28
|
|
03:00
|

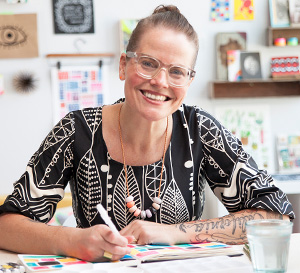
Taught by Rebecca Ringquist
Start Free Trial or
Buy For $29.95
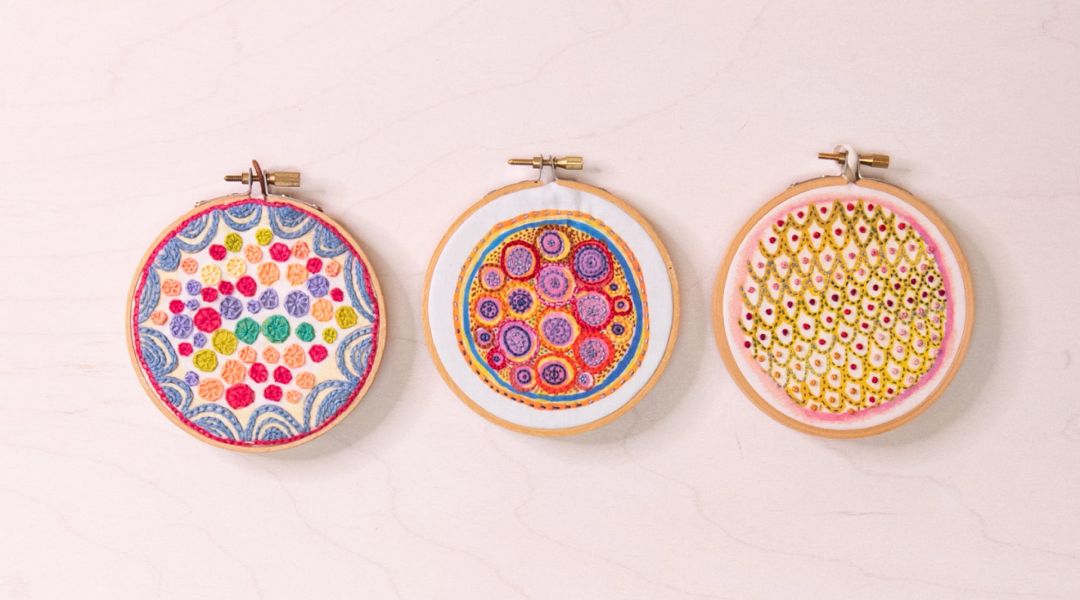
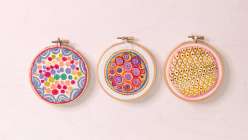
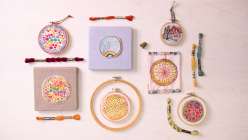
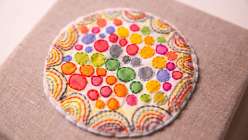
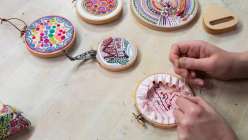
If you’ve been embroidering for any length of time, you’ve probably asked yourself what to do with all those finished projects. Rebecca Ringquist, a Portland, Oregon based artist, designer, educator, and author, gets asked this all the time, and she is excited to share all her ideas. From samplers to small design motifs, she demonstrates three ways of finishing your projects to elevate them from a simple piece of fabric to a beautiful object worthy of being displayed. Whether hanging on your wall, turned into ornaments, or crafted into sculptural artworks, Rebecca has a wealth of advice on how to achieve finished looks for all your embroidery projects.
Learn how to:
What you'll get:
Here’s what you’ll need:
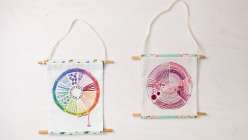
Dowel Banner
- Finished embroidery piece
- Two fabric strips - same width of project, and 3 inches taller
- Backing fabric - same width of project, plus 3 inches on top and bottom
- Corner turning implement - Rebecca uses a chopstick
- Two dowels - same width of project, plus 2 inches
- Ribbon or cord for hanging
- Pins
- Needle and thread
- Rotary cutter and surface, or scissors
- Ruler
- Iron and ironing surface
- Sewing machine (optional)
- Finished Embroidery Hoop
- Finished embroidery piece
- Embroidery hoop to fit your piece
- Ribbon or cord for hanging
- Needle and thread
- Scissors
- Hoop prop by Modern Hoopla (optional)
- Stretched Canvas
- Finished embroidery piece
- Stretched canvas or canvas stretcher bars to fit your piece
- Backing fabric, three inches wider on all sides than your canvas
- Backing fabric, half an inch wider on all sides than your finished embroidery piece
- Needle and thread
- Scissors
- Flathead screwdriver
- Staple gun and staples
- Sawtooth picture hanger and nail
- Hammer
- Batting, one and half inches wider on all sides than your canvas (optional)
- Sewing machine (optional)
Downloads:
- Make a dowel banner from your project
- Elevate an embroidery hoop as a frame
- Finish an embroidery piece on a stretched canvas
What you'll get:
- Directions for three methods of finishing an embroidery piece
- 5 HD video lessons you can access online anytime, anywhere
- Detailed supplies list
- Step-by-step expert instruction from artist Rebecca Ringquist
- The ability to leave comments, ask questions, and interact with other students

Member Gallery
Browse members' projects from this class and share your own work! Learn how to take great photos here.
Load More
Finishing Embroidery Projects: Three Ways Reviews
148 users recommended this class to a friend

Nancy Gamon
super helpful variety of presentation methods
November 24, 2024
Heather Williams
Thank you, Rebecca! Some cute and creative ideas for finishing. You really demystified the process by explaining so well.
More than 3 months ago
Linda Day
So many ideas to use for those embroideries just sitting around my craft room. Thank you for a great class, Rebecca!
More than 3 months ago
Related Classes