Volume 90%
Press shift question mark to access a list of keyboard shortcuts
Keyboard Shortcuts
Play/PauseSPACE
Increase Volume↑
Decrease Volume↓
Seek Forward→
Seek Backward←
Captions On/Offc
Fullscreen/Exit Fullscreenf
Mute/Unmutem
Seek %0-9
All levels
|
1 hour 26 min
|
01:07
|
|
07:12
|
|
31:39
|
|
23:30
|
|
17:13
|
|
05:24
|
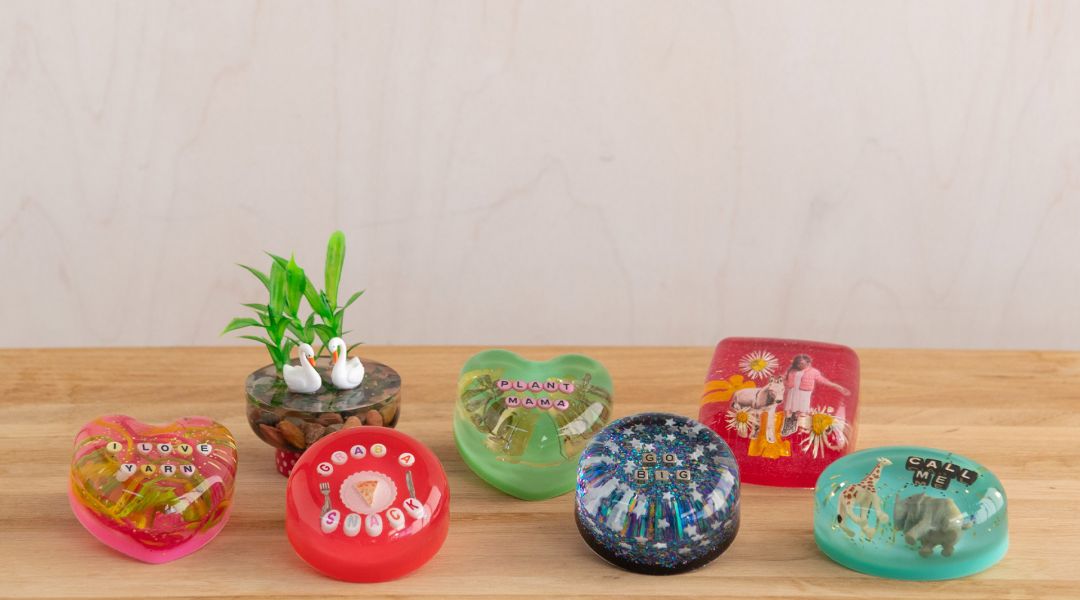
Craft a moment suspended in time using the distinctive properties of resin. While the medium has a reputation for being messy and complicated, Creativebug instructor Twinkie Chan demonstrates how attention to detail can lead to a mesmerizing outcome. Using a basic paperweight as a simple introductory project, you’ll learn how to select and mix resin, then assemble your project. You'll see how some inclusions need to be treated differently and the advantages of working in layers. You can use your finished paperweights as pattern weights for sewing, for sending inspirational messages to friends, or for capturing life's special moments in a unique way.
---
To explore another layered resin project, check out the blog post that Twinkie wrote about making a resin trinket tray.
Learn how to:
What you'll get:
---
To explore another layered resin project, check out the blog post that Twinkie wrote about making a resin trinket tray.
Here’s what you’ll need:
- Unicone Art 2-part epoxy casting resin 16 oz. kit (you can use any brand of 2-part epoxy casting resin)
- 4-5 oz. silicone paperweight molds - Twinkie is using soap molds
- 2-3 plastic measuring cups that can hold at least 4 oz.
- Stack of smaller paper or plastic cups for pouring and mixing
- Plastic mixing spatulas or popsicle sticks
- Toothpicks
- Tweezers
- Silicone mat, parchment paper, wax paper, plastic sheet or cardboard to protect your work surface
- A smaller piece of coardboard or a tray to place under your project and a cardboard box or plastic bin large enough to cover your project
- A lighter, small kitchen torch, heat gun, or straw for popping small bubbles
- Paper towels and small spray bottle of alcohol or acetone for cleaning
- Different grades of wet/dry sand paper (from about 120 up to 1000) plus a shallow dish or pan that the sand paper fits inside OR regular sand paper plus a particle mask for your protection
- Several pairs of nitrile gloves
- Recommended for safety: safety glasses, long-sleeved shirt, respirator mask with N95 or equivalent rating
- Clear Cast Resin and Finishing Spray (optional)
Resin Colorants - you can use a variety of paints and dyes to color resin. Successful results can be obtained with all of the following:
- Acrylic paint
- Watercolor paint
- Food coloring
- Alcohol ink (be sure to avoid the use of a lighter or torch when using alcohol ink)
- Mica powder
- Pigment powder
- Pigment paste
- Resin dye
- Nail polish
- Eye shadow
- Glitter
Inclusions - swatch and experiment with inclusions, such as paper/photos/magazines, pressed flowers, rocks, glitter, fabric, yarn, candy, polymer clay objects, and plastic toys. Any food or flowers should be fully dried.
Specific materials used in the class projects
- Swatching - candy mold, a variety of colorants
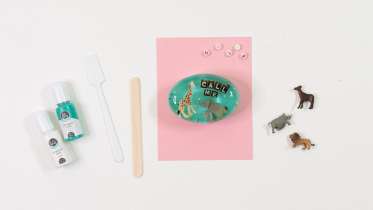
- Plastic Toys paperweight - 4-5 oz. oval silicone soap mold, small plastic toys, plastic letter beads, Color Pour opaque resin colorant in teal and white
- Photo/flower paperweight - 4-5 oz. square silicone soap mold, Photos printed on bright white paper, small pressed flowers, fine pink glitter, Options for sealing: Mod Podge and a brush, acrylic spray sealant or Clear Cast Resin and Finishing Spray, or good quality packing tape
Downloads:
- Make fun and colorful paperweights with epoxy casting resin
- Measure, mix and pour resin
- Work with resin safely
- Color resin with dyes, paints, and pigments
- Cast porous and non-porous objects
- Prepare non-porous objects for resin
- Pour resin in layers
What you'll get:
- Instructions on how to make paperweights out of resin
- 6 HD video lessons you can access online anytime, anywhere
- Detailed supplies list
- Step-by-step expert instruction from artist Twinkie Chan
- The ability to leave comments, ask questions, and interact with other students


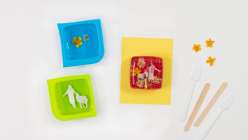
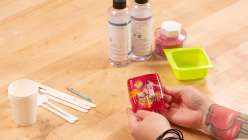
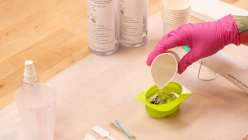
Member Gallery
Browse members' projects from this class and share your own work! Learn how to take great photos here.
Load More
Make Resin Paperweights Reviews
104 users recommended this class to a friend
Sylvia Riesselmann
I love all the tips. This type of creativity takes a lot of patience and dedicated time once you start a project especially if you are layering. All of these tips will help in possible future projects. Thank you so much as I am a complete beginner and this will save me from making mistakes and from unnecessary frustration. Loved this class.
January 27, 2025
Erica Foley
So great I have to get the materials I want to make them so bad thanks for sharing
More than 3 months ago
Katie Hubbard
I watched this to see how casting in resin works, before I do it as a craft. I learned a lot about the process and look forward to experimenting on my own.
More than 3 months ago


