Home > Classes > Holiday + Party > Packaging & Presentation
Make Ornaments with Polymer Clay and Transfers

All levels
|
31 min 27 sec
|
00:42
|
|
01:03
|
|
03:53
|
|
11:06
|
|
09:28
|
|
05:15
|
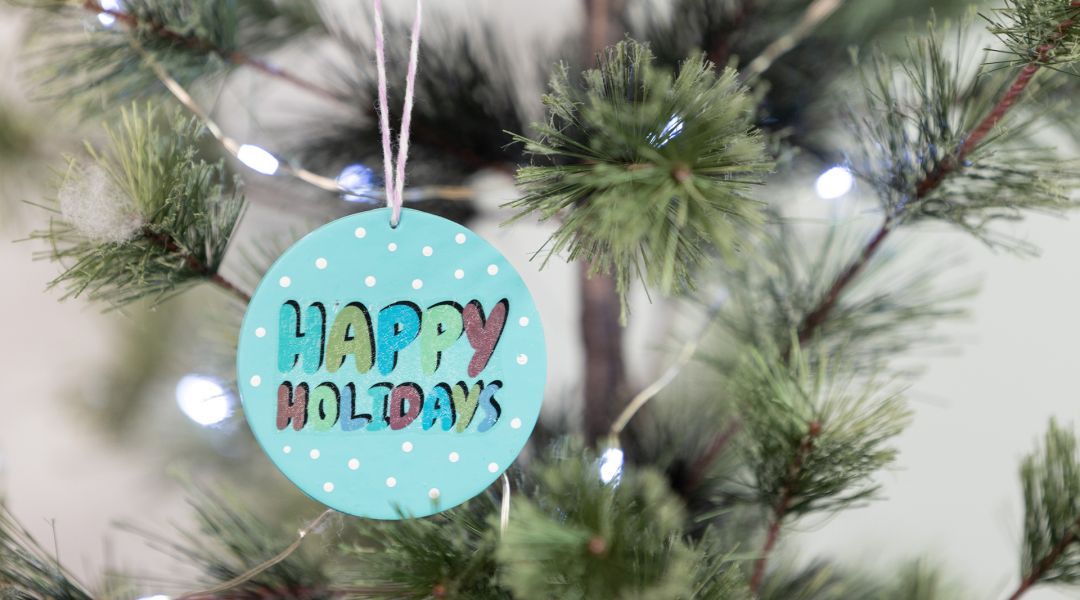
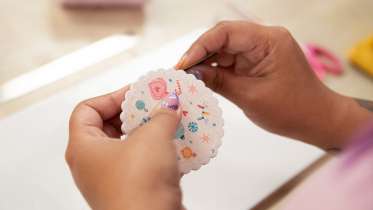
Learn polymer clay basics while creating a thoughtful and inventive ornament with artist and clay enthusiast Faheema Chaudhury of Unicorn Crafts. Begin by mixing a custom color as you condition the clay, then use classic cookie cutters to make holiday shapes. You’ll explore the possibilities of personalization as Faheema demonstrates how to select and print a custom design and adhere to your ornament. Finish your ornament by sanding and glazing, creating a holiday gift or adornment to use for years to come.
Learn how to:
Here’s what you’ll need:
- Sculpey polymer clay - Faheema is using two blocks of Souffle in white and one block each of Premo in red and teal
- Tissue blade
- Cookie cutters in a variety of shape or template PDF
- String
- Temporary tattoo paper (clear)
- Inkjet printer
- Small dish for water
- Acrylic roller
- Dotting tool
- Pencil
- White acrylic paint
- Sandpaper with a grit no higher than 800
- Scissors
- Gloves (optional)
- Pasta machine (optional)
Downloads:
- Mix custom colors
- Condition polymer clay
- Select and print a custom design
- Sand and glaze polymer clay


Member Gallery
Browse members' projects from this class and share your own work! Learn how to take great photos here.
Load More
Class PDF
Transcript
Make Ornaments with Polymer Clay and Transfers Reviews
28 users recommended this class to a friend
Sylvia Riesselmann
Learned a lot about working with this type of clay. thank you so much!
More than 3 months ago


