Volume 90%
Press shift question mark to access a list of keyboard shortcuts
Keyboard Shortcuts
Play/PauseSPACE
Increase Volume↑
Decrease Volume↓
Seek Forward→
Seek Backward←
Captions On/Offc
Fullscreen/Exit Fullscreenf
Mute/Unmutem
Seek %0-9
Next Up
Overview
All levels
|
10 min 9 sec
|
00:31
|
|
09:38
|
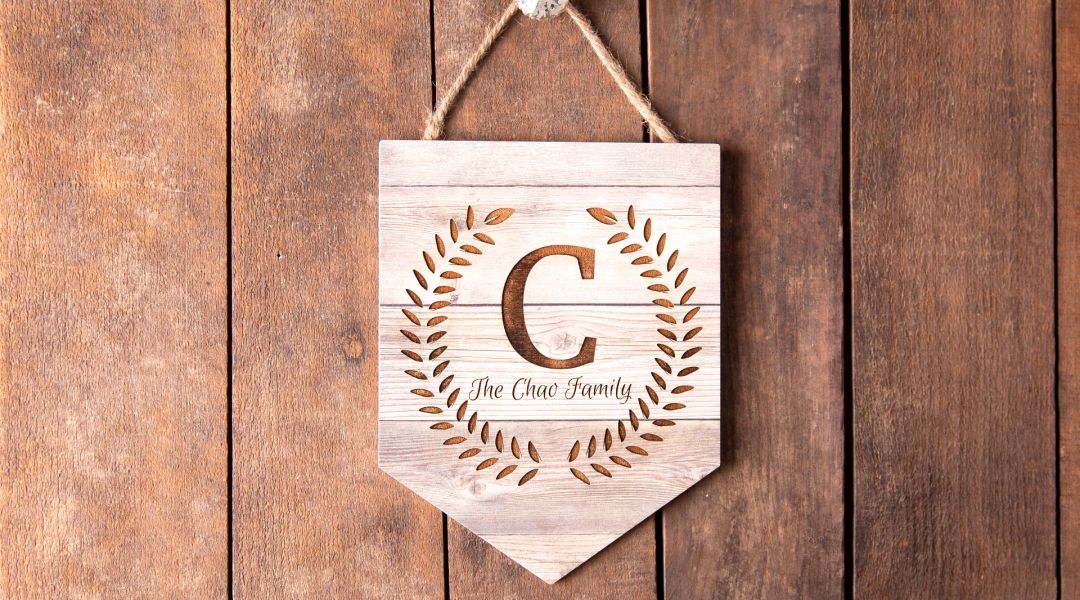
Lauren Marcinek from the Creativebug team shows you how easy it is to engrave a customizable wooden sign with the Glowforge. You'll learn how to upload your design and adjust the settings on the machine. Then, see how to make your engraved wood look its very best. With the push of a button, you can add a beautiful touch of handmade to your home or create a one-of-a-kind gift that is perfect for any occasion, from treasured gifts to bridal showers to housewarming parties.
Learn how to:
Here’s what you’ll need:
- Glowforge
- Computer or laptop
- Wooden sign - approx. 8.5 x 11", .25" in thickness
- Ruler
- Pencil
- Cutting board oil (optional)
- Small towel
- Windex
Downloads:
- Upload a design to the Glowforge
- Laser engrave on wood
- Make your engraved designs pop
- Easy-to-follow video lessons on how etch into wood with the Glowforge
- 2 HD video lessons you can access online anytime, anywhere
- Detailed supply list
- Step-by-step instructions by Creativebug instructor Lauren Marcinek
- The ability to leave comments, ask questions and interact with other students


Member Gallery
Browse members' projects from this class and share your own work! Learn how to take great photos here.
Load More
Glowforge Projects: Engraved Wooden Sign Reviews
106 users recommended this class to a friend
Mary Maycock
I would like to know how long it took to do the actually engraving. Thanks
More than 3 months ago


