All levels
|
41 min 42 sec
|
00:53
|
|
04:23
|
|
08:52
|
|
05:11
|
|
05:51
|
|
06:57
|
|
09:35
|
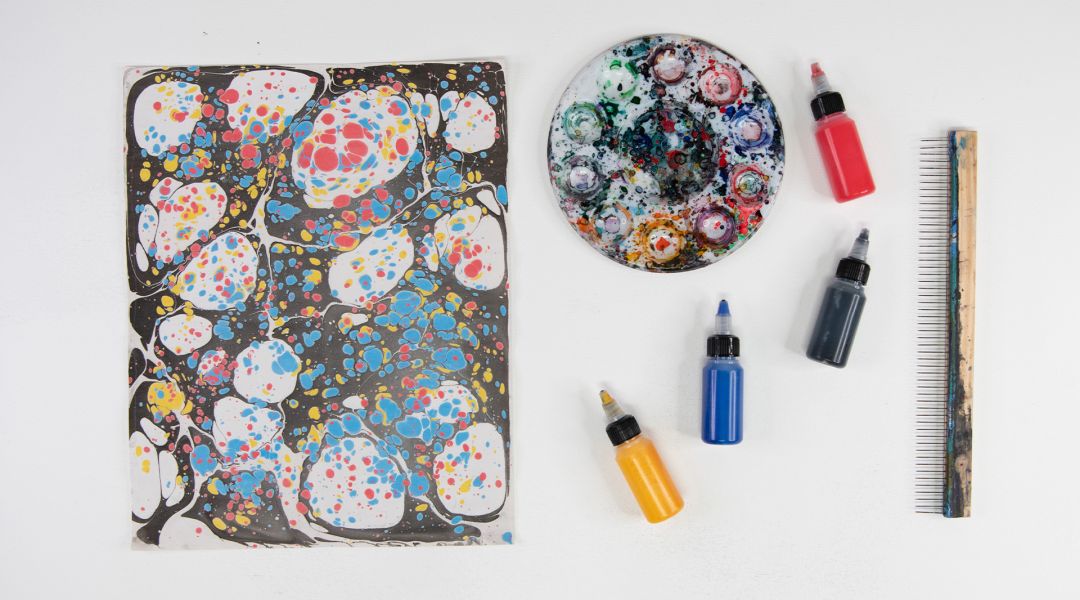
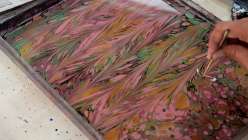
Join Austin-based textile artist Mercedez Rex for creative play exploring the art of water marbling. This ancient monoprinting process involves floating pigment on the surface of thickened water to create patterns which can then be transferred onto paper or fabric. This foundational class will cover the tools you will need and the basics of your set up. Learn classic historical patterns before diving into joyful experimentation using basic techniques of manipulating paints on the surface of a water bath.
Learn how to:
Here’s what you’ll need:
- Marbling solution, called "size" (make at least six hours ahead and keep refrigerated): 1 Tbsp. carrageenan well blended in 1/2-gallon warm water
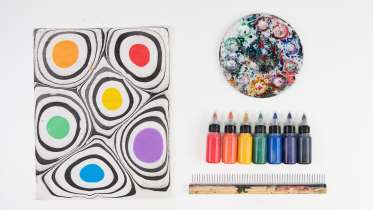
- Acrylic marbling paints in red, orange, yellow, green, blue, violet, black, white - Mercedez recommends Jacquard brand put into Boston Round squeeze bottles
- Marbling tray - 11" x 14" is recommended
- Newspaper strips, approximately 11” x 2”
- Newsprint the same size as your tray
- Richeson drawing paper 60# - should be the same size as your tray
- Marbling brushes or plastic broom straws
- Bamboo stylus or toothpick
- Palette
- Standard marbling comb approximately ⅛ in shorter than width of your tray (optional)
- Items to protect your space, including newspaper, drop cloths, or plastic sheeting, trash can, and rags
Downloads:
- Create traditional marble patterns, including Sumi, Stone, Gel-Git, Combed, and Freestyle
- Make a marbling solution known as "size"
- Use specialized marbling tools including precision combs and marbling brushes
- Make a heart and flower shape


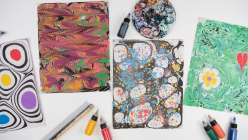
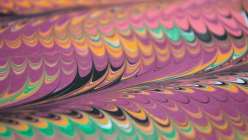
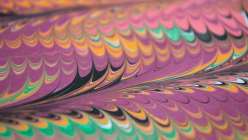
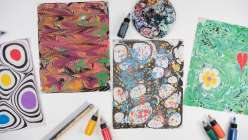
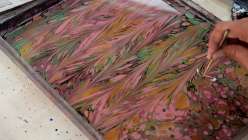
Member Gallery
Browse members' projects from this class and share your own work! Learn how to take great photos here.
Load More
Creativity Through Marbling: An Introduction Reviews
248 users recommended this class to a friend
Lynda Todd
Fun, relatively easy, and accessible for the first-timer! After this class, I'm even more encouraged to try this myself.
More than 3 months ago
2


